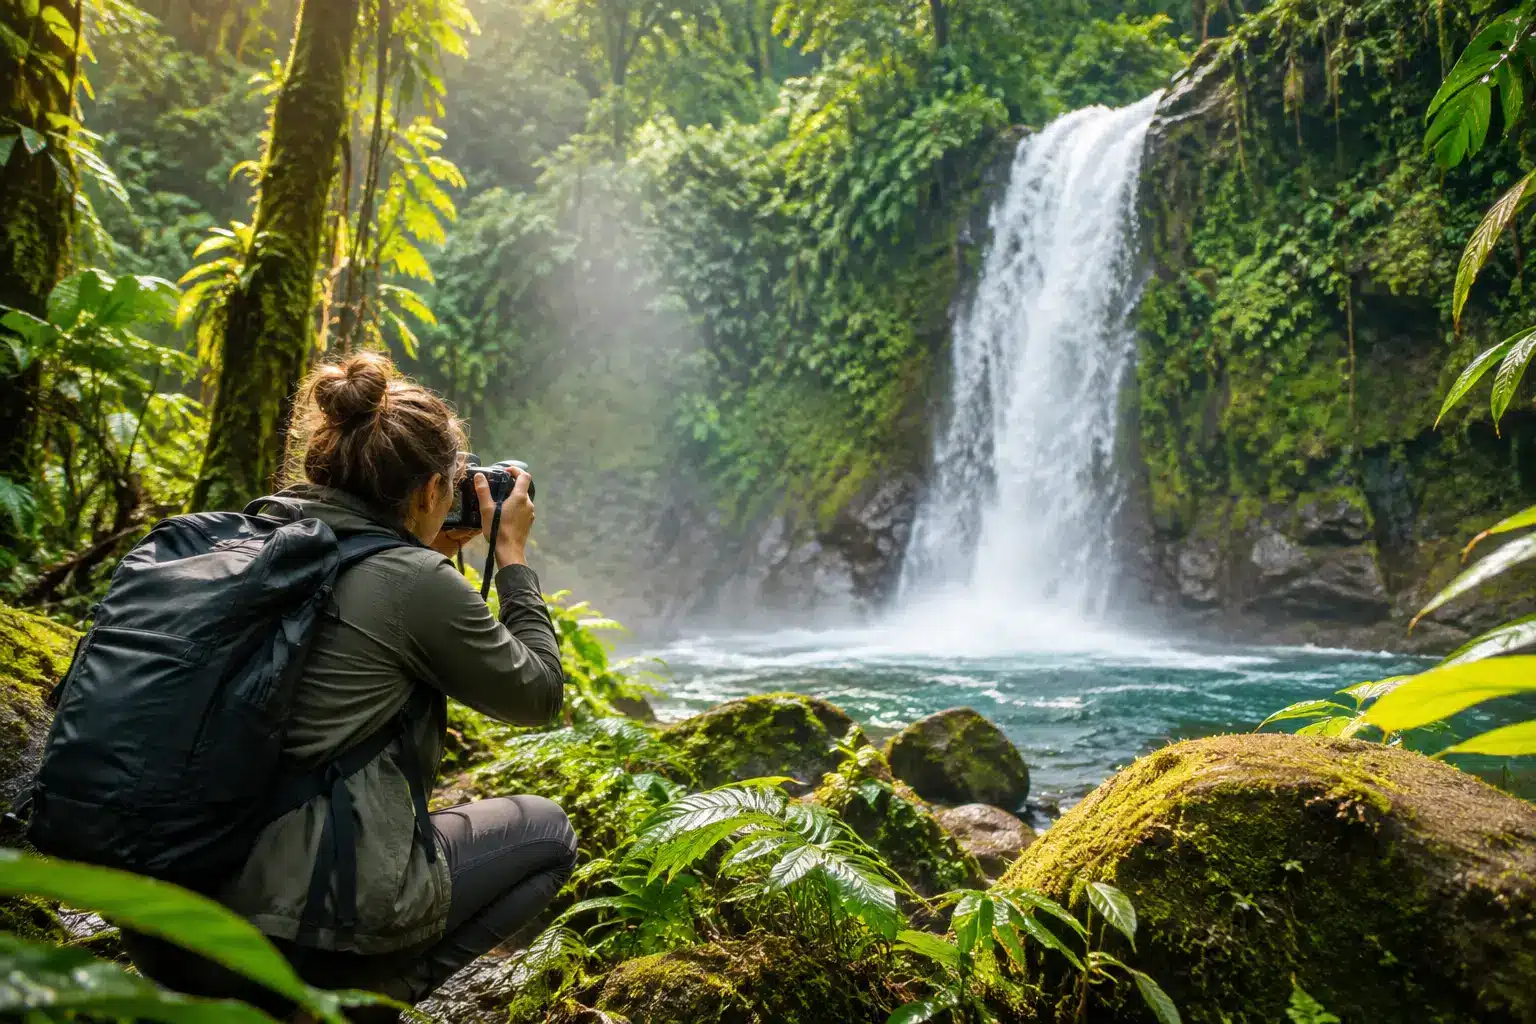

The first sound you notice at a rainforest waterfall is rarely the water alone. It is the layered hush of leaves, the quick call of a bird beyond the trail, and the soft percussion of mist landing on your jacket. Learning how to photograph rainforest waterfalls begins there: not with rushing to set up a camera, but with allowing the scene to reveal its rhythm.
In Guanacaste’s rainforest, waterfalls are not isolated landmarks. They belong to a living world of volcanic stone, immense ferns, shifting cloud cover, and water that carries the forest’s energy downhill. A memorable image should preserve some of that feeling. The goal is not simply a technically correct photograph, but a frame that recalls the cool air on your skin and the privilege of standing in a protected place.
Begin with the conditions, not the camera
Rainforest light is generous and difficult at once. The canopy softens direct sun, yet bright patches of sky can sit beside near-black rock and foliage. Waterfalls add another challenge: white moving water can lose all detail in an instant if the exposure is too bright.
Arrive with time to observe. Walk the viewpoint without lifting the camera. Notice where the water enters the frame, where the eye naturally rests, and whether a moss-covered foreground or curving branch gives the scene depth. A guide who knows the reserve can help identify the most rewarding vantage points while keeping you safely on established paths.
Overcast conditions are often ideal. Soft cloud cover calms the contrast between white water and dark vegetation, revealing the rich greens that make rainforest scenes so immersive. After rain, the foliage may appear especially saturated, but moisture also means more spray on your lens and slippery ground. There is no perfect condition, only a different visual character to work with.
How to photograph rainforest waterfalls with graceful motion
Your shutter speed determines whether the waterfall appears sculpted, energetic, or like a veil of silk. Neither approach is inherently better. Let the scene decide.
For an ethereal, flowing effect, begin around one-quarter to one second. At these slower speeds, individual drops merge into a luminous texture, while still rocks and plants provide a quiet counterpoint. If the cascade is forceful, even a half-second exposure can create beautiful movement. For a more detailed, powerful result, try 1/125 second or faster to hold droplets and the water’s shape in place.
A tripod is valuable, especially for exposures slower than about 1/30 second. It lets you compose with precision and keep the surrounding forest crisp. In a premium guided experience, it is worth bringing a compact, sturdy travel tripod rather than a large setup that becomes cumbersome on wet terrain. Use a two-second timer or remote release so pressing the shutter does not disturb the frame.
If you prefer to travel lightly, stabilize your camera against a railing where permitted, a solid rock, or your own body with elbows close to your sides. Do not place gear on fragile plants, and never move natural materials to create a better composition. The most refined travel photography leaves no trace of its making.
Set exposure for the water, then protect the forest’s depth
Start in aperture priority or manual mode. An aperture between f/8 and f/11 is a dependable range for wide waterfall landscapes, keeping much of the scene in focus while allowing a manageable shutter speed. Set your ISO as low as practical, usually ISO 100 or 200, to retain detail in shadowed greens.
Check the histogram rather than trusting the brightness of the screen. The waterfall’s highlights should approach the right side without pressing hard against it. Once white water clips to featureless white, its texture cannot be recovered. Slightly underexposing by one-third or two-thirds of a stop is often wiser than sacrificing the highlights, particularly where pale sky appears above the canopy.
A circular polarizing filter can be exceptionally useful in the rainforest. It reduces glare on wet leaves and dark rock, deepens natural color, and allows the waterfall to stand apart from its surroundings. Yet it also cuts light, often requiring a slower shutter speed. This is welcome when your tripod is secure, but less helpful when you need to work handheld in dim conditions.
A neutral-density filter is another thoughtful option for long-exposure images in brighter openings. It reduces the light entering the lens, allowing you to slow the shutter without overexposure. Use it selectively. A waterfall beneath dense canopy may already be dark enough for a slow exposure, and adding a filter can push the scene into murky shadows.
Compose for a sense of arrival
The waterfall may be the subject, but it should not always fill the entire frame. Rainforest photographs become more transporting when they include a sense of place: a carved volcanic wall, a pool holding reflections, a sweep of broad leaves, or a narrow trail leading toward the sound of water.
Look for layers. A fern or palm frond near the lens can create a gentle foreground, the cascade can occupy the middle distance, and the deep forest can recede behind it. This approach gives the image scale and makes the viewer feel present rather than positioned at a distance.
Vertical framing often suits tall falls and enclosed ravines. A horizontal frame can be more expressive when the river, pool, and surrounding vegetation are as compelling as the falling water. Take both, then look beyond the obvious central composition. Shifting a few steps can place the cascade against a darker background, reveal a leading line in the river, or remove a distracting bright patch from the edge of the frame.
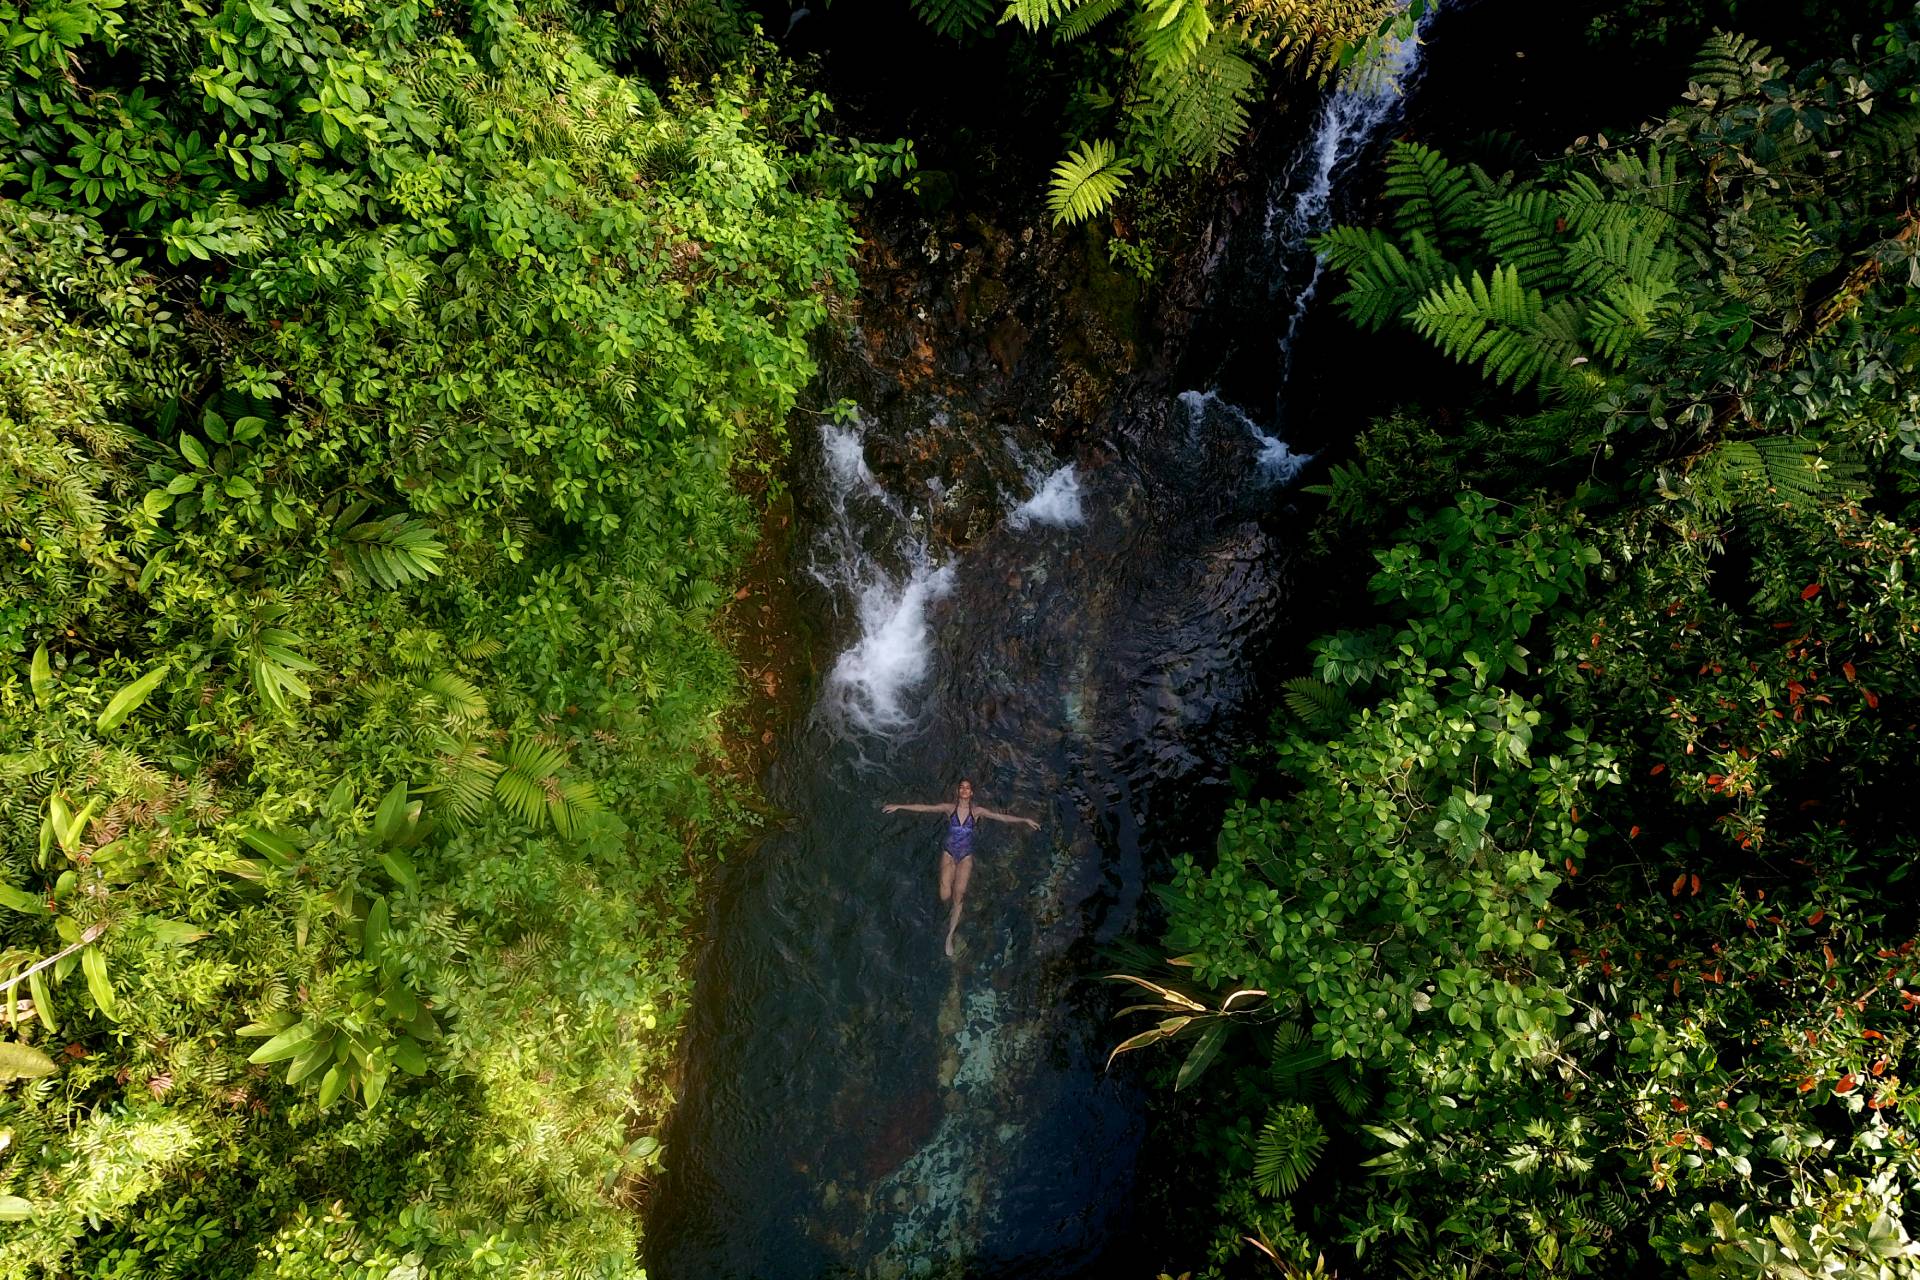
Including a person can add emotional scale, especially on an intimate journey shared with a partner or family. Keep the figure small and naturally placed, perhaps pausing at a safe overlook rather than posing directly in front of the falls. A light-colored rain jacket can provide a subtle visual anchor against the green, though muted tones usually feel most harmonious with the forest.
Work patiently with mist, rain, and changing light
Waterfall spray is part of the atmosphere, but it is unforgiving on glass. Carry a clean microfiber cloth in a dry pouch and inspect the front element frequently. Wipe gently, then wait a moment before shooting again. Constant wiping can create smears when the lens is very wet, so a lens hood and a small rain cover are worthwhile companions.
Humidity may cause condensation when moving from an air-conditioned vehicle into warm forest air. Let the camera acclimate inside a sealed bag for several minutes before exposing it to the humidity. This simple pause can prevent fogged lenses at the exact moment the light becomes beautiful.
Rain should not end the photographic opportunity. A light shower can soften the scene, heighten color, and leave beads of water on leaves. Keep a rain sleeve or protective cover ready, and protect your footing before protecting the shot. Trails near waterfalls can be slick, and a composed image is never worth stepping beyond a safe boundary.
Let the rainforest remain wild
The finest nature photography is grounded in respect. Stay on designated trails and viewing areas, particularly in sensitive private reserves where every fern, insect, and stream edge contributes to the habitat. Avoid touching wildlife, feeding animals, or clearing leaves and branches from a frame. Flash is rarely needed for waterfall landscapes and can disrupt small creatures near the trail.
Keep your voice low, move slowly, and allow your guide’s interpretation to shape what you notice. At Sensoria, the waterfalls and thermal landscapes are experienced as part of a preserved sanctuary, not as a backdrop to be consumed quickly. That distinction can change the photographs you make. Instead of collecting views, you begin to see relationships: water feeding the forest, canopy sheltering the trail, and silence making room for wonder.
Edit for memory, not spectacle
When you return home, resist the temptation to push every green slider to its limit. Rainforest color is naturally abundant. Gentle adjustments to highlights, shadows, texture, and white balance are usually enough to recover the feeling you experienced on the trail.
If the image feels too blue, warm it slightly until the rock and foliage feel believable. If mist has lowered contrast, preserve some of that softness rather than forcing dramatic clarity into every corner. A successful edit honors the atmosphere of the place. The image should invite someone closer, not make them doubt it was real.
Before putting the camera away, take one final frame without chasing perfection. Let the water blur, let the mist settle on the lens if it must, and listen for a moment longer. Often, the photograph you treasure most is the one that remembers the rainforest as a sanctuary, alive and entirely beyond possession.